1
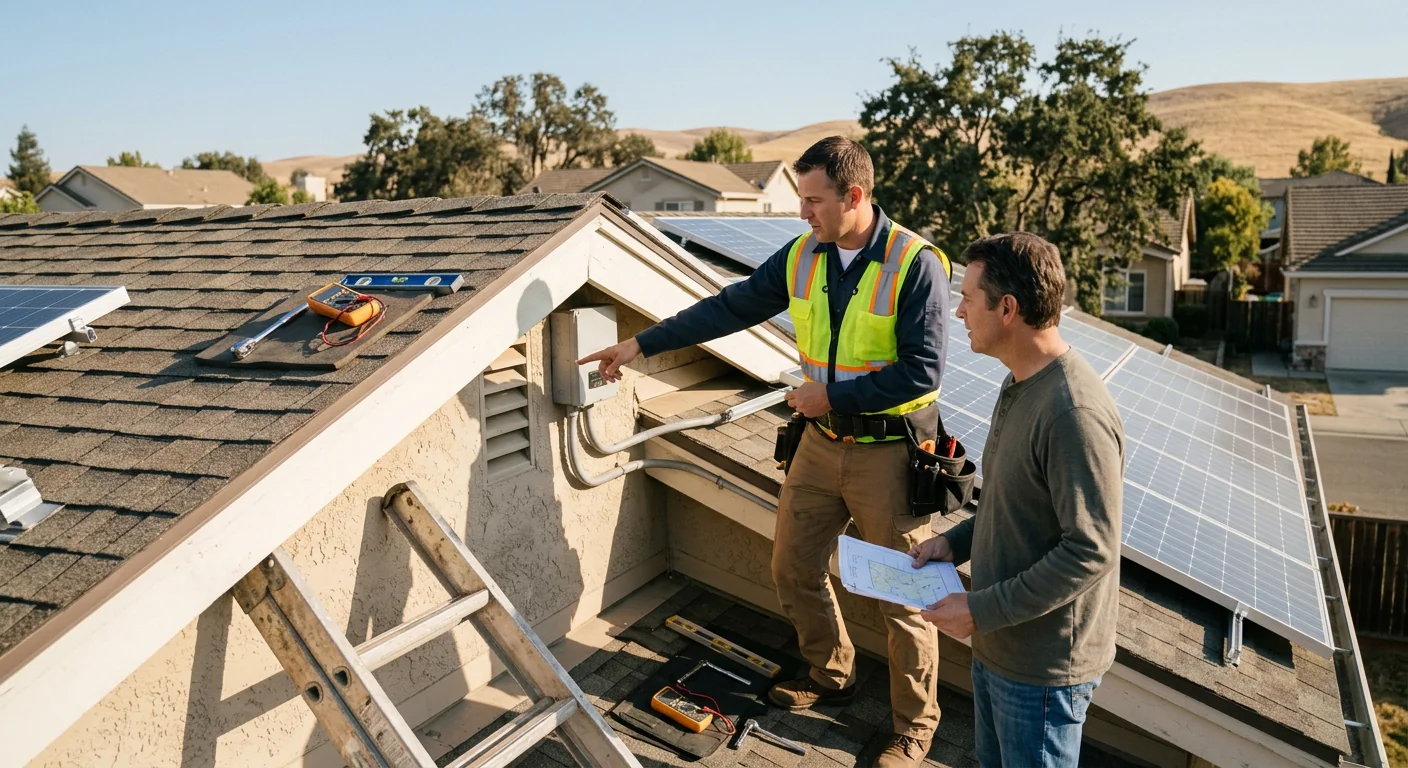
Site Inspection and System Diagnostics
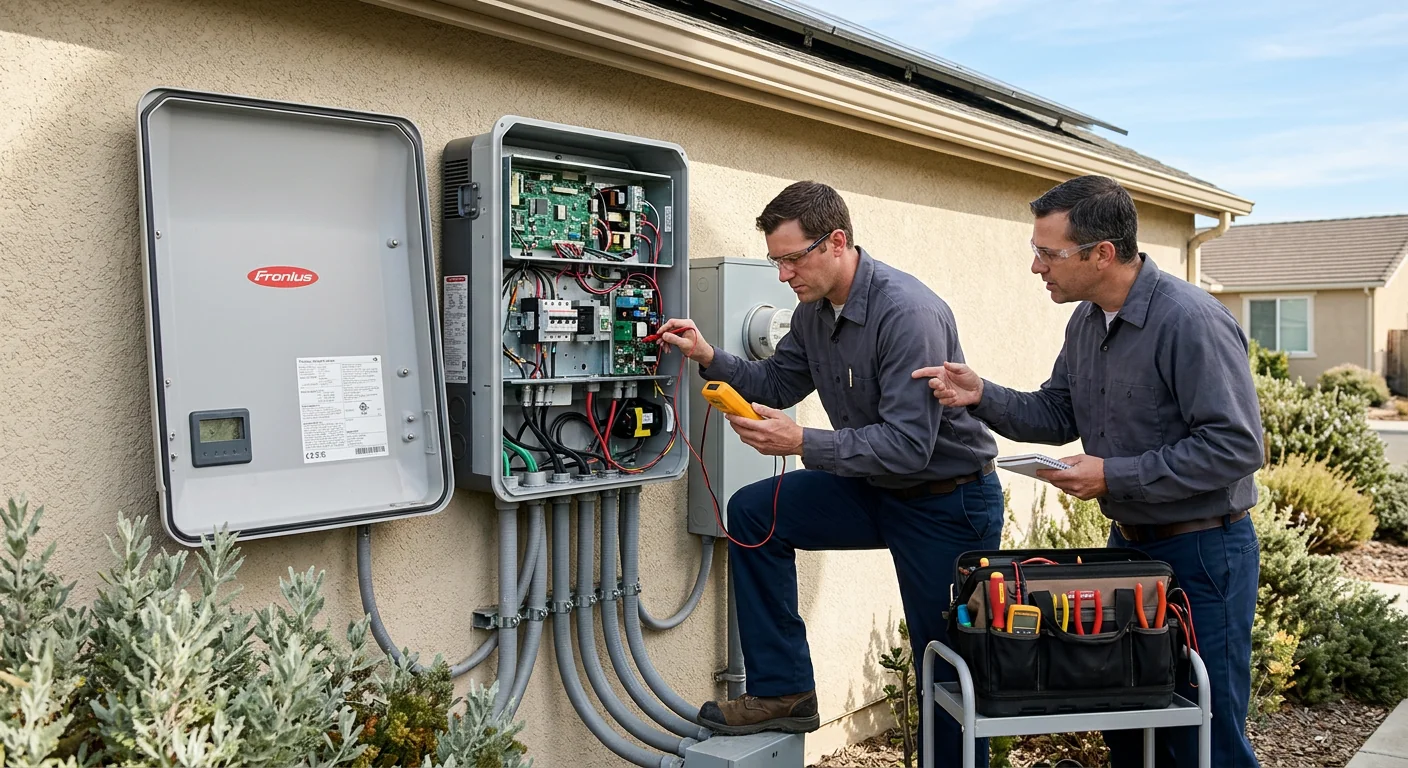
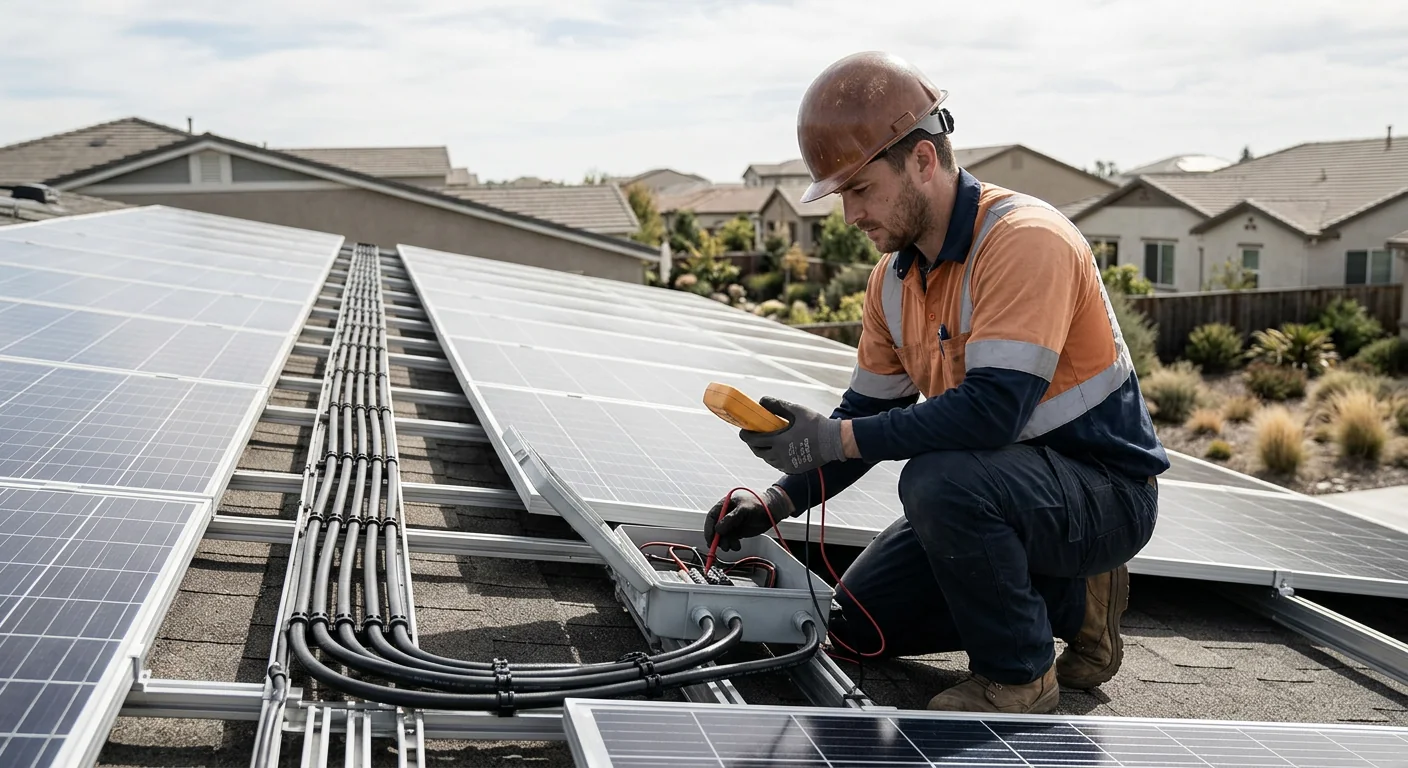
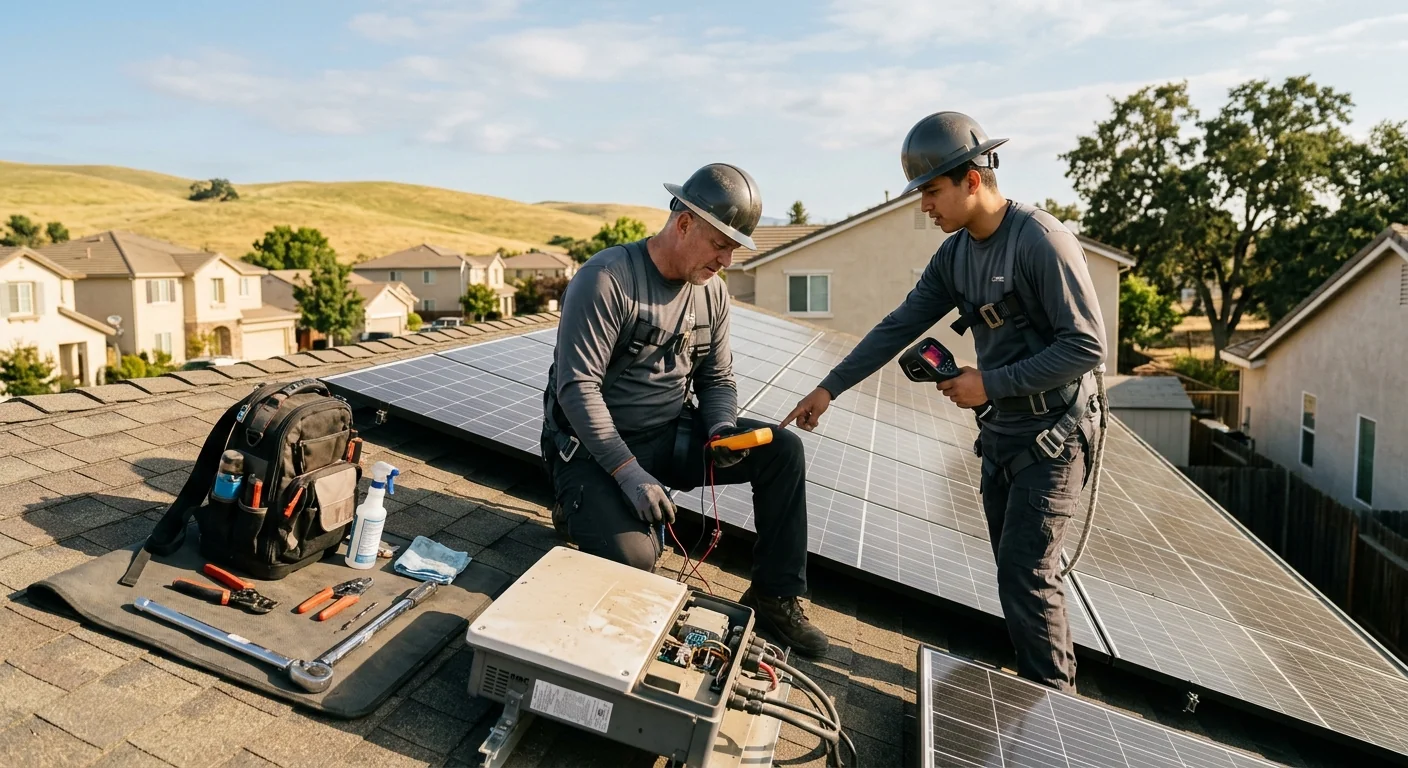
Every job begins with a careful inspection of the array, mounting hardware, wiring, and inverter readings. We document panel output, check for micro-cracks, hot spots, and connector corrosion, and record baseline performance values. This diagnostic step gives us an accurate picture of system health before any repair work starts. In 2026, many Tracy homes carry panels installed years earlier, so a measured assessment protects long-term reliability.
2
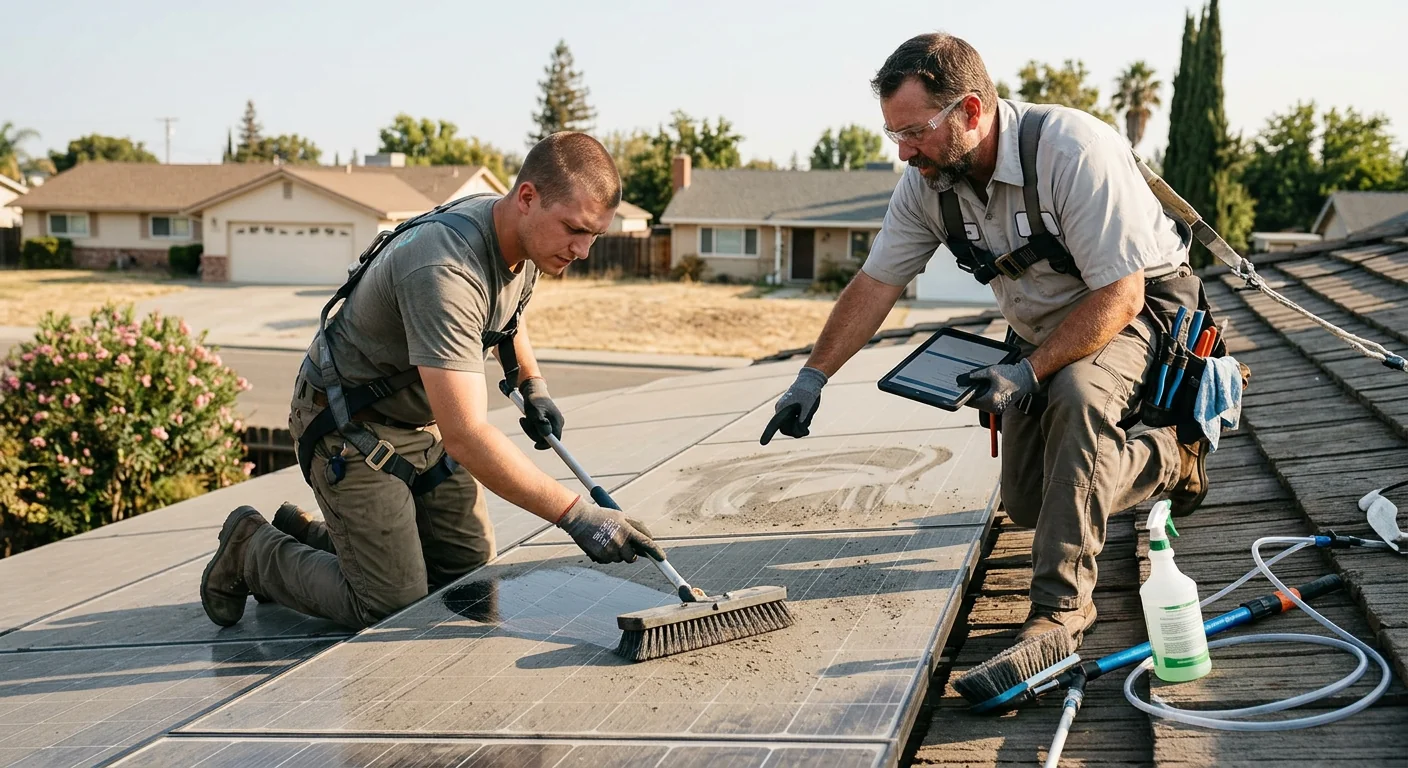
Cleaning, Preparation, and Fault Isolation
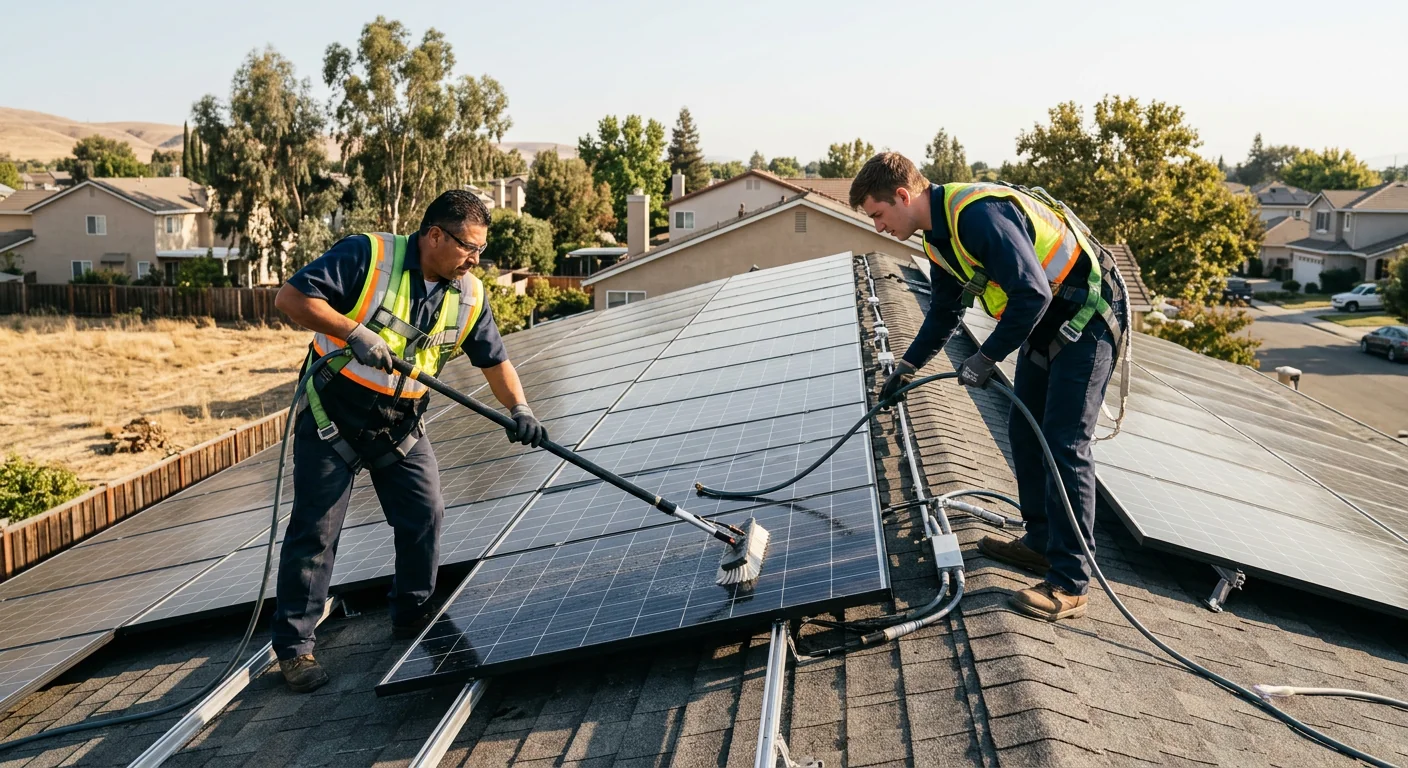
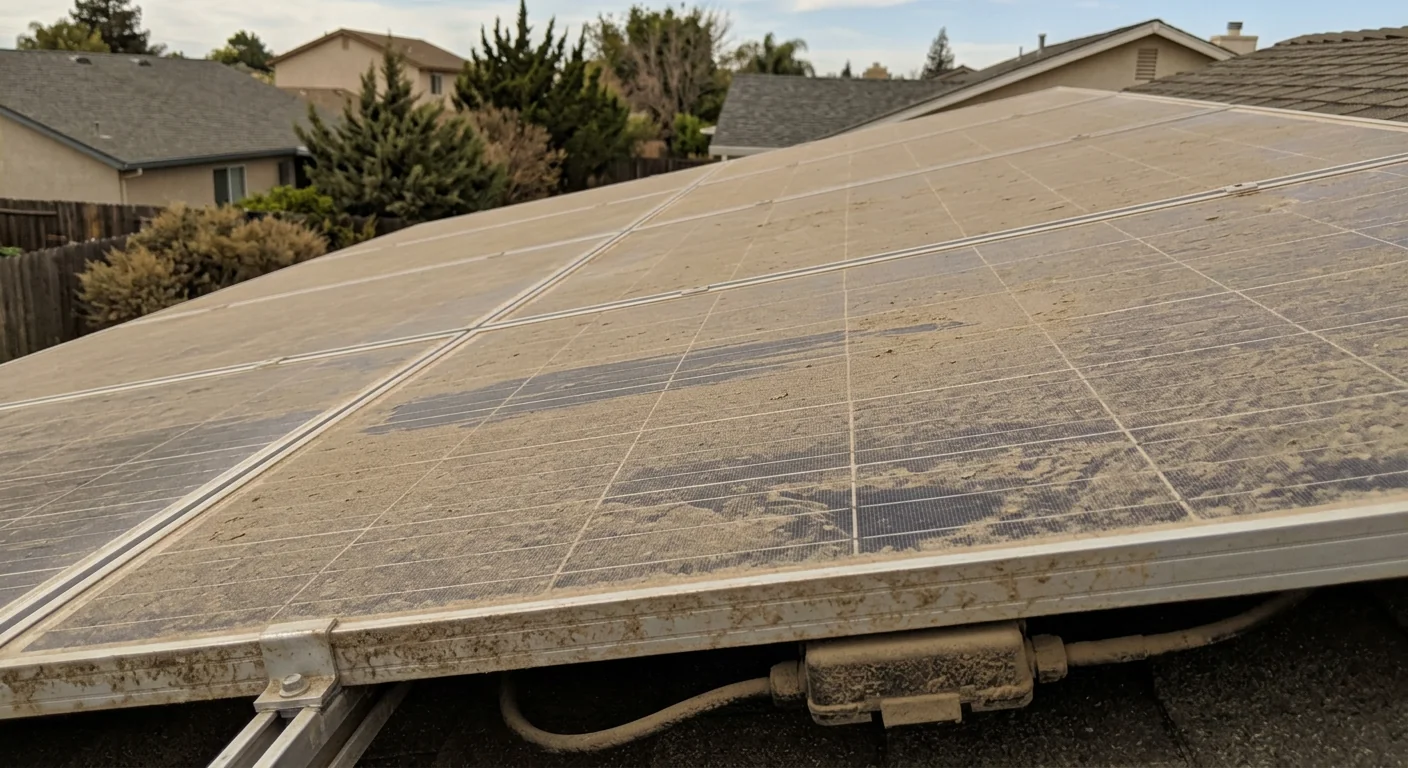
After diagnostics, we prepare the work area and isolate faults with controlled sequencing. Dust buildup common to Tracy’s dry summers is removed, shading obstructions are noted, and each string is tested to pinpoint underperforming modules. We label components and stage replacement parts before touching a single connection. Preparation prevents rushed decisions later.
3
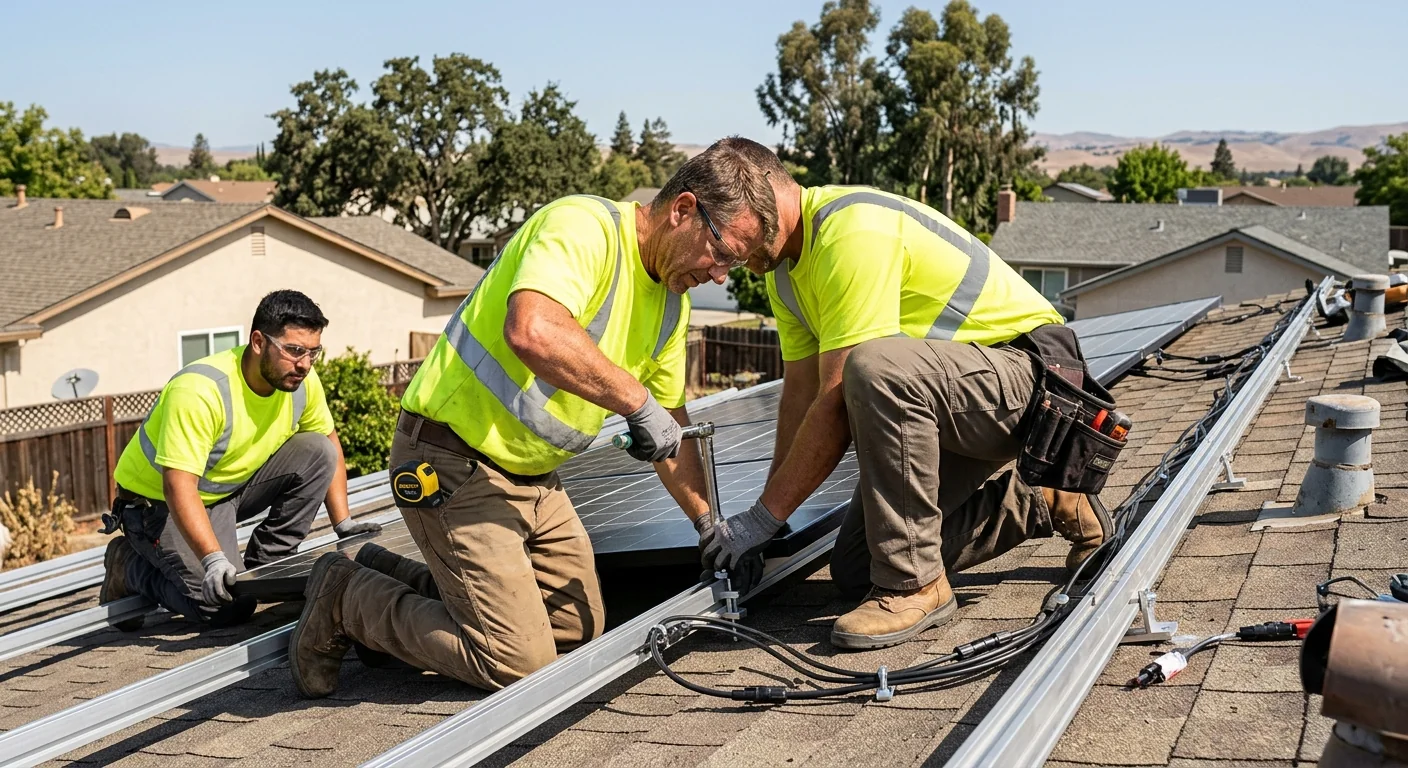
Repair, Replacement, and Verified Reassembly
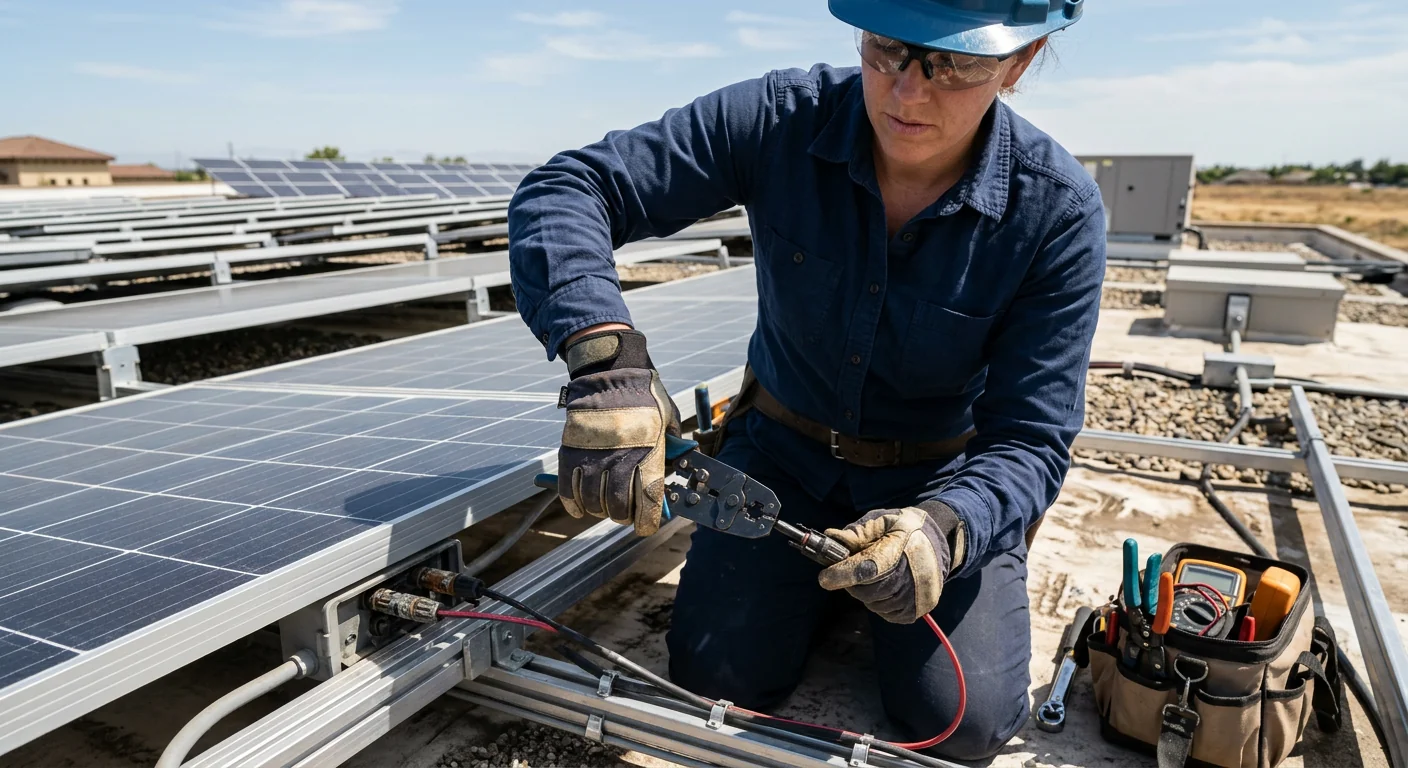
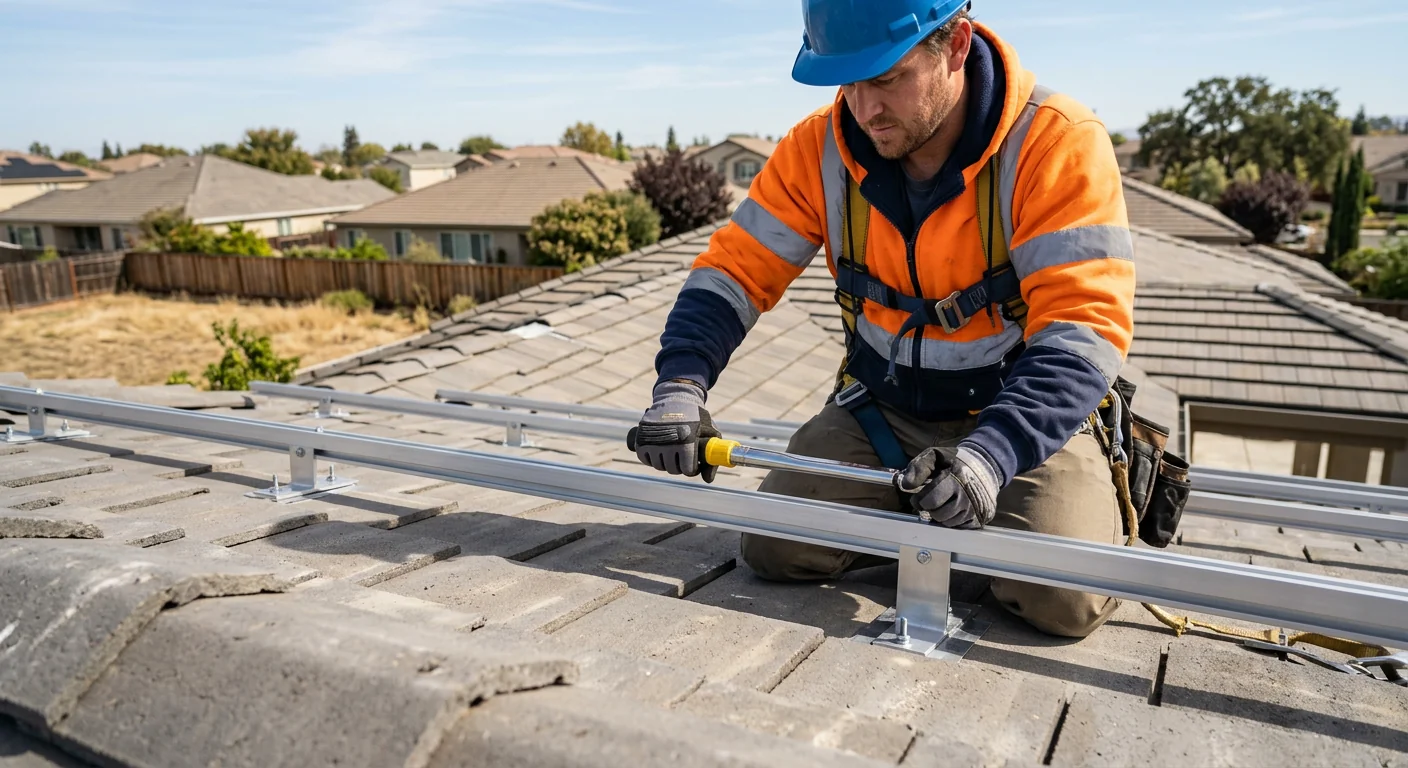
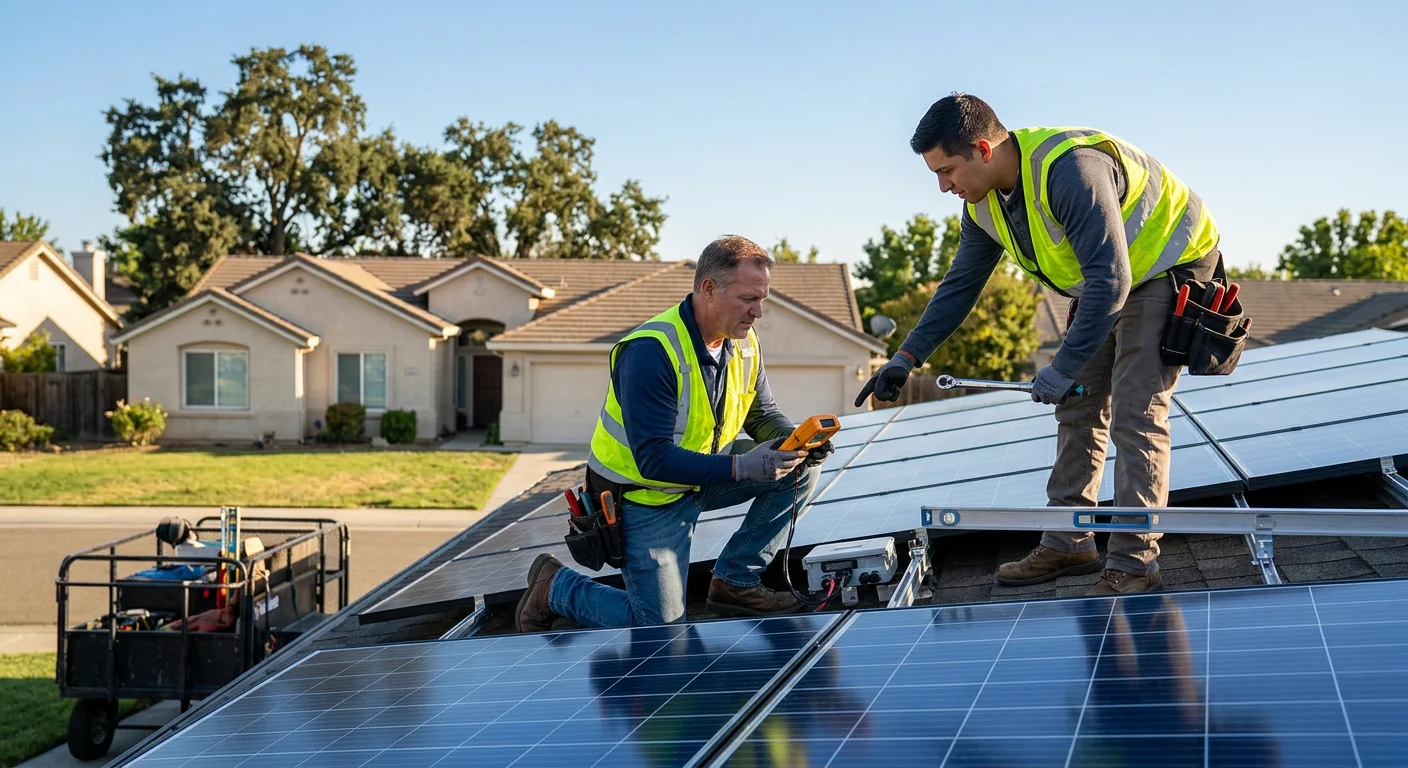
With faults isolated, we carry out repairs or replacements to manufacturer torque and wiring specifications. Faulty optimizers, junction boxes, or MC4 connectors are swapped, and mounting rails are re-secured to preserve structural integrity against wind and thermal cycling. Each connection is checked twice. Clean execution here reduces premature wear and extends the operational lifespan of the system.
4
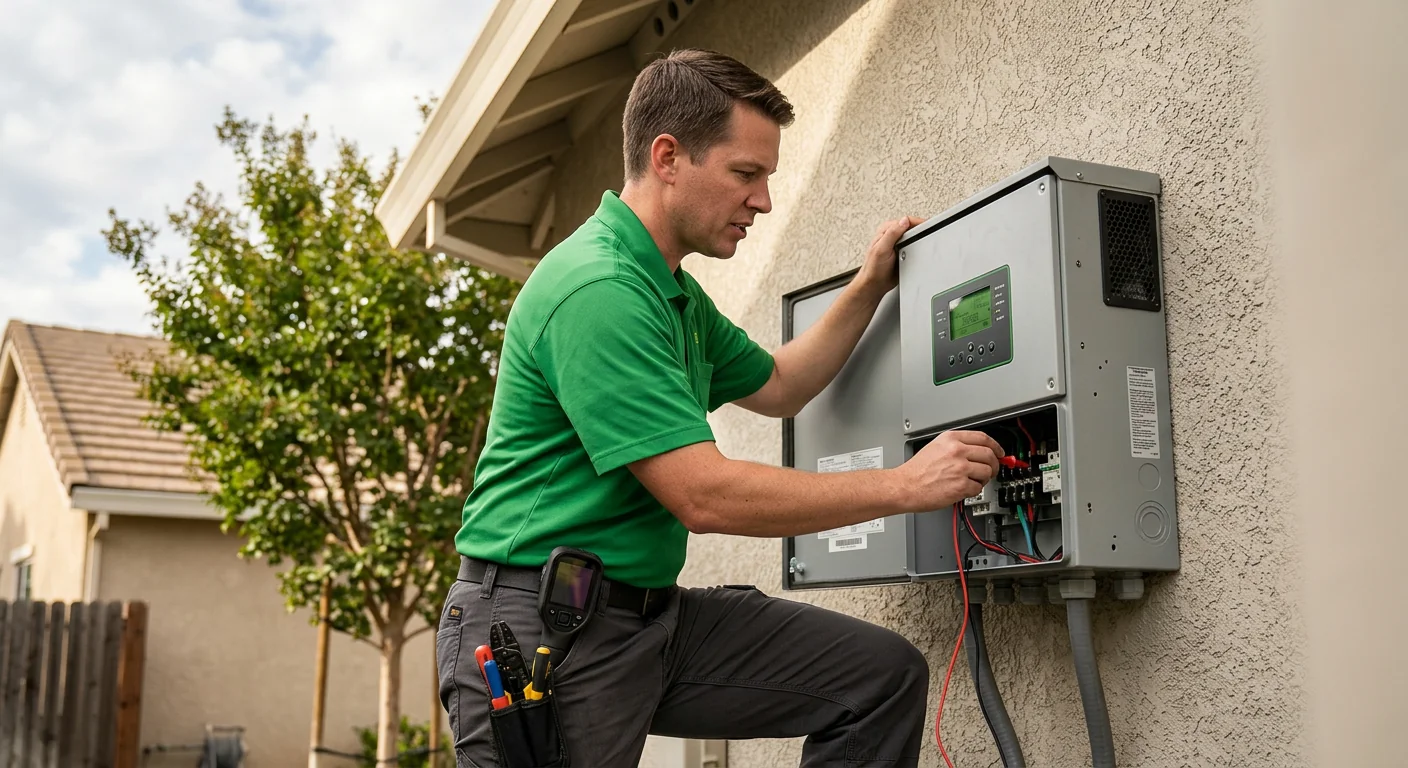
Performance Testing and Post-Job Walkthrough
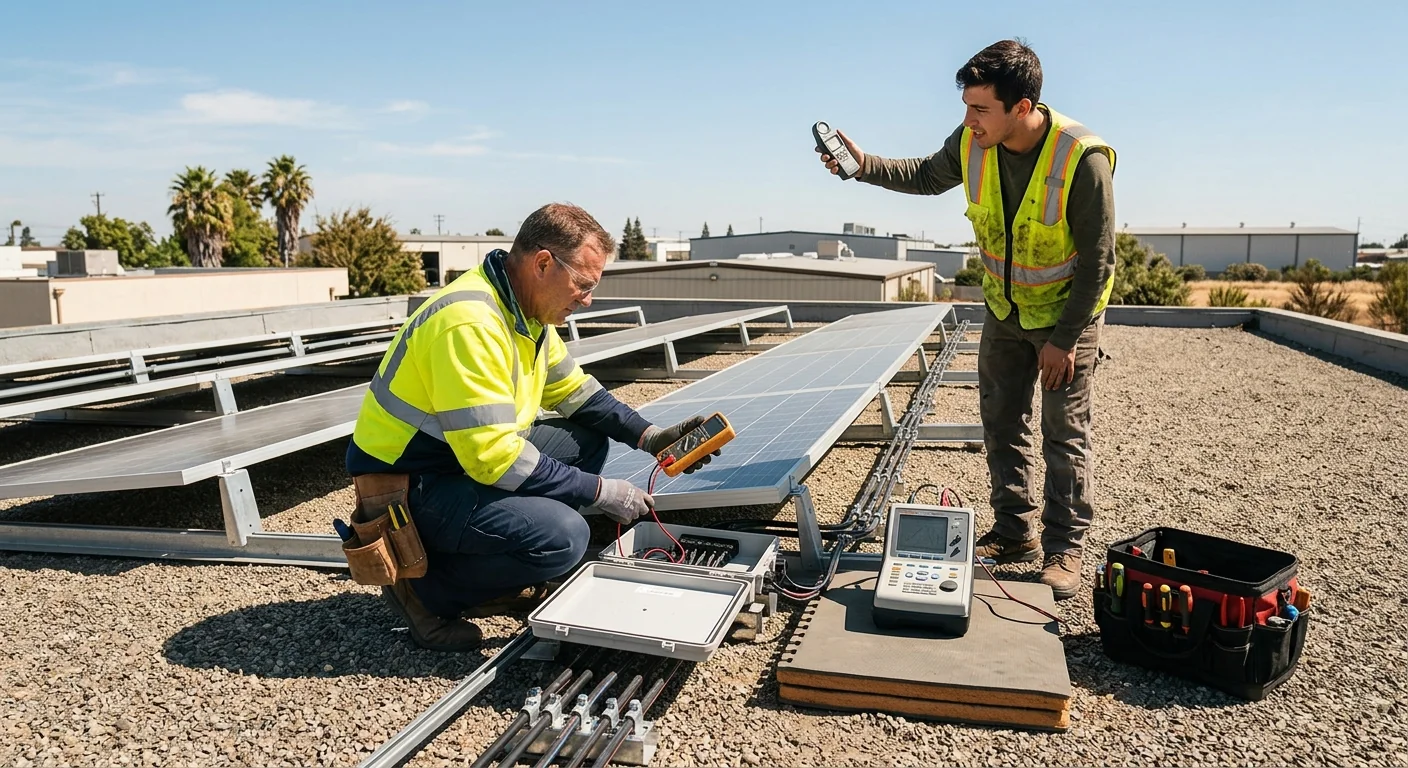
Once reassembled, we test voltage, current, and inverter output to confirm the system meets expected production levels. We compare post-repair readings against the baseline recorded during inspection and document the results in writing. A post-job walkthrough explains what was corrected and what preventative care sustains performance. This final quality check confirms the work supports long-term durability across Tracy’s seasonal conditions.